Step 1:Confirm the IEC 60695-11-5 Test Conditions
Before adjusting the equipment, confirm that the product standard refers to IEC 60695-11-5 and that the test conditions are clearly defined. The operator should know the flame application time, specimen position, angle of application, acceptance criteria, and whether tissue paper or another indicator material is required.
A short pre-test record should include the standard version, specimen description, test duration, operator name, and date of verification. The official IEC standard page for IEC 60695-11-5:2016 describes the needle-flame test method for simulating small flame effects caused by fault conditions.
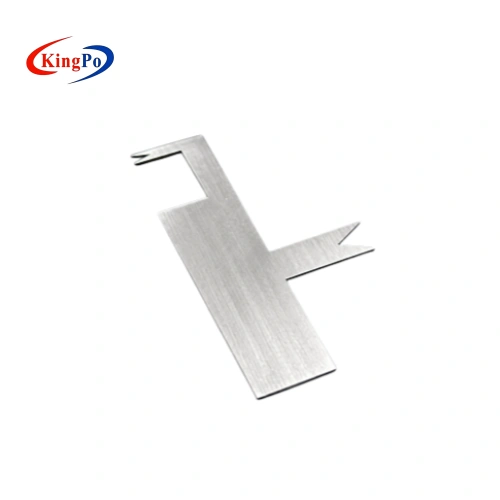
Step 2:Inspect the Needle Burner Before Ignition
The needle burner should be clean, correctly installed, and free from blockage. Residue around the burner tip can change the flame shape, especially after repeated tests on plastics, terminals, switches, housings, or insulating materials.
Before ignition, check that the burner is fixed securely, the gas connection is tight, the adjustment valve moves smoothly, and the burner can return to the required test position without looseness. If the flame becomes unstable during setup, inspect the burner tip before changing other parameters.
Step 3:Adjust Flame Height After Stabilization
Flame height should be adjusted only after the flame has stabilized. If the operator adjusts the flame immediately after ignition, the final setting may drift as gas flow and combustion conditions settle. This can lead to different heat exposure between specimens in the same test batch.
During needle flame test apparatus calibration, record the gas type, flame height setting, time of adjustment, and any correction made before testing. These notes are useful when reviewing borderline results or comparing reports from different operators.
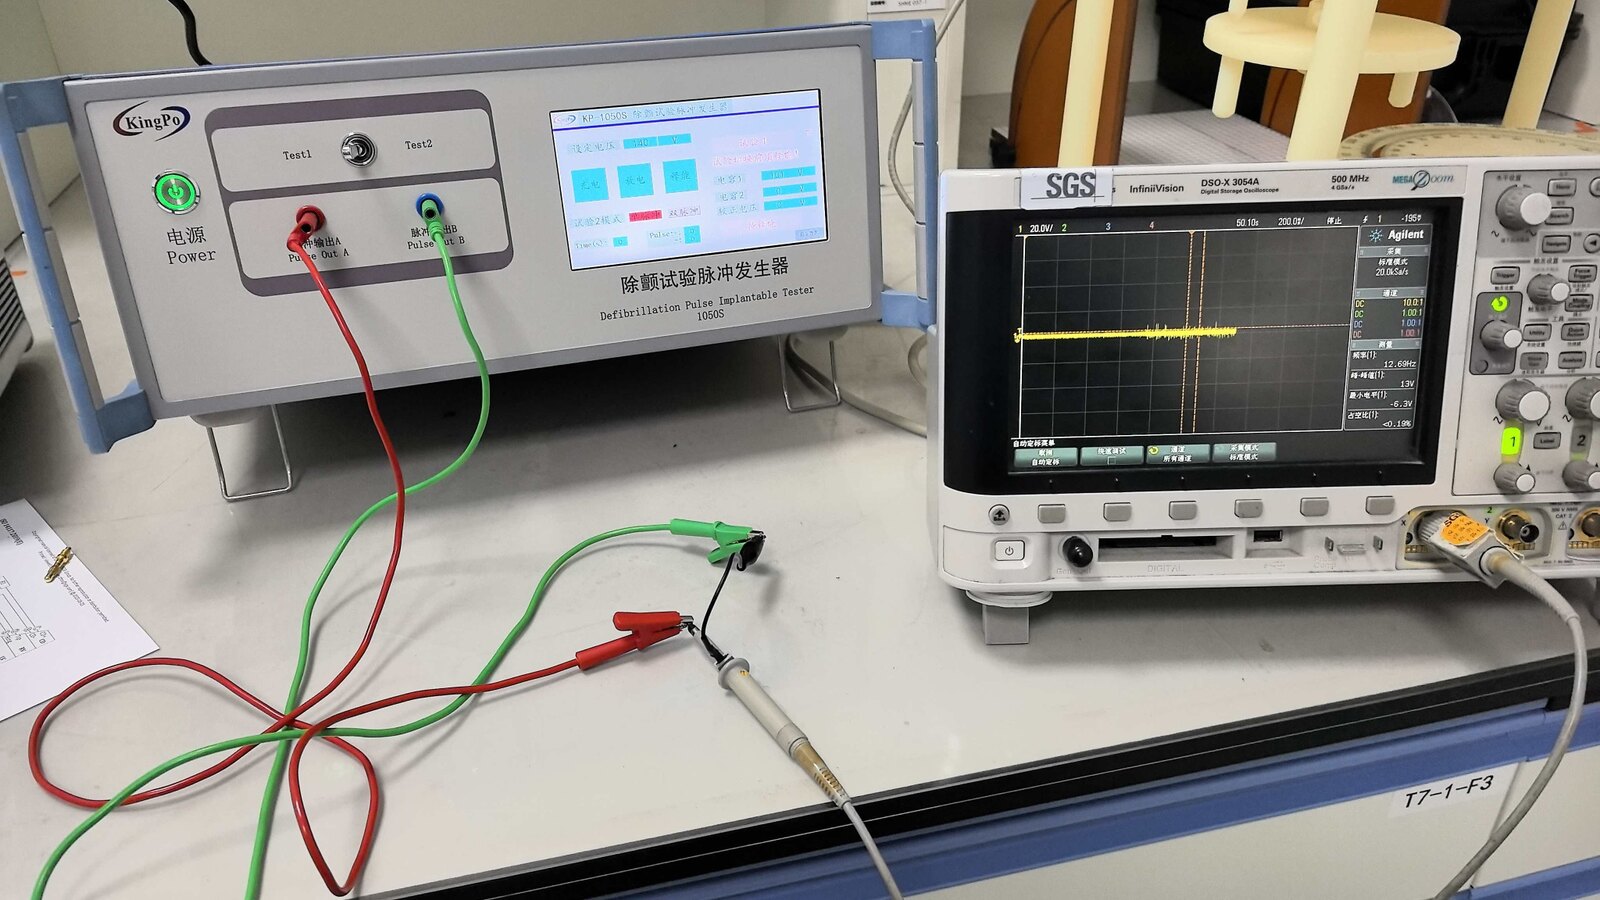
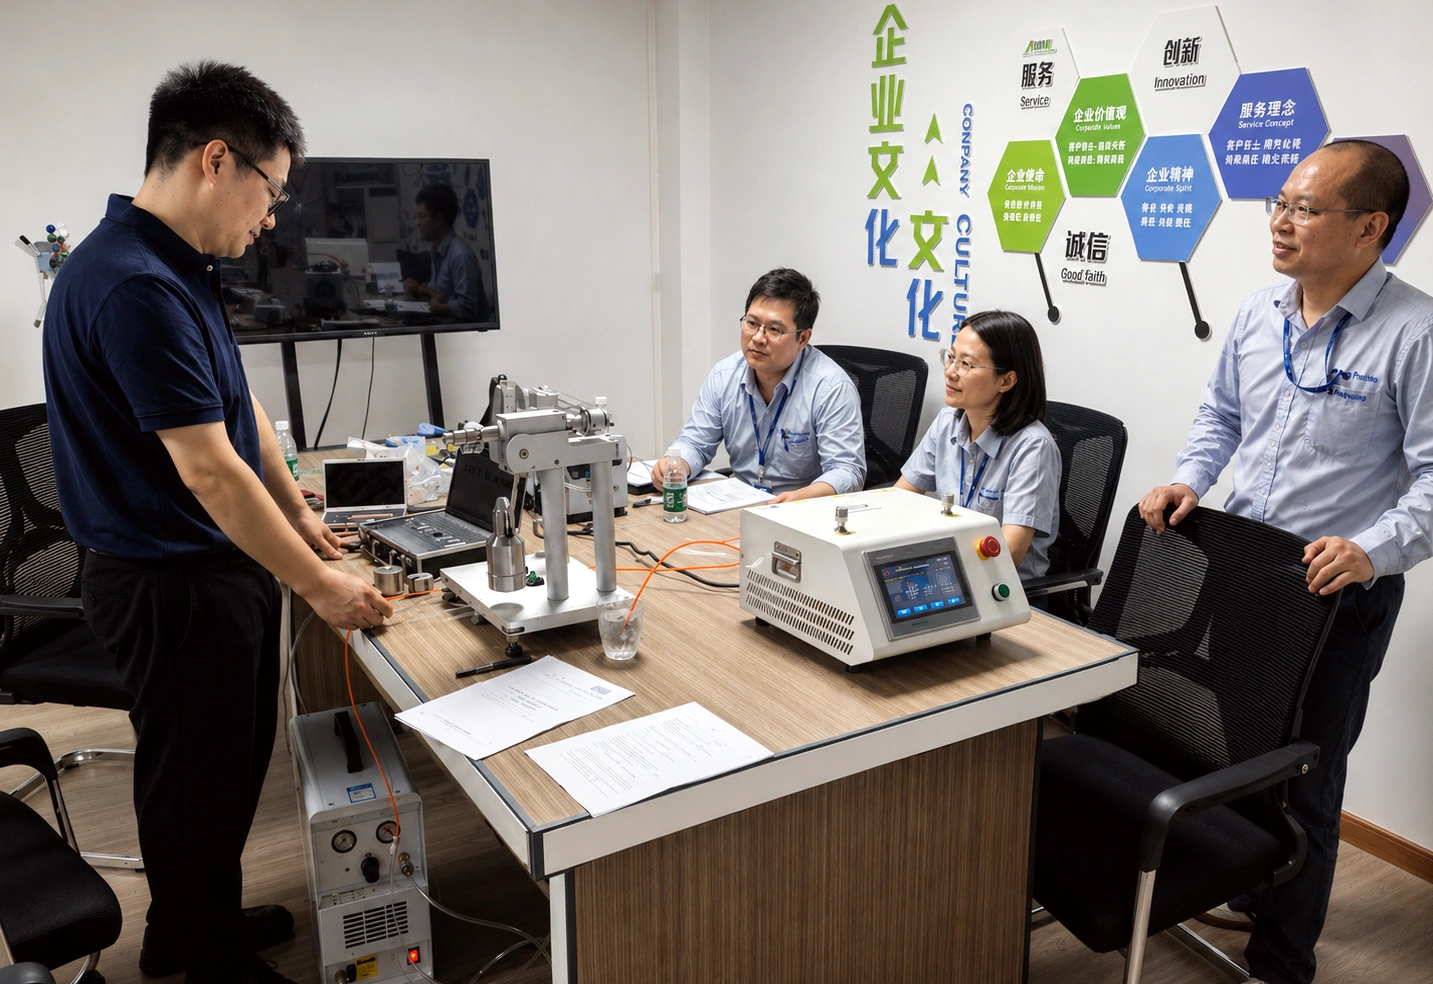
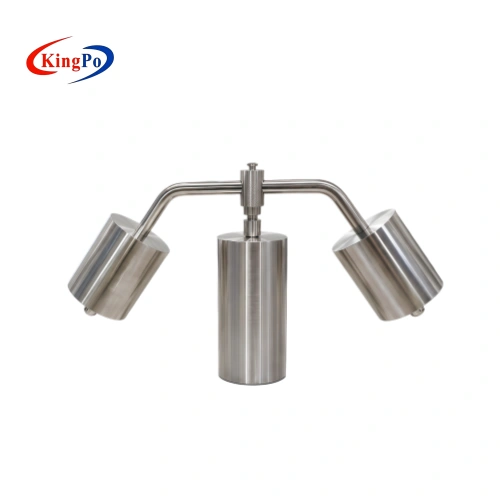
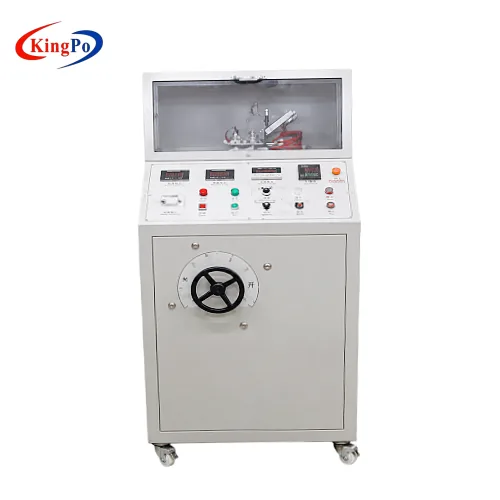
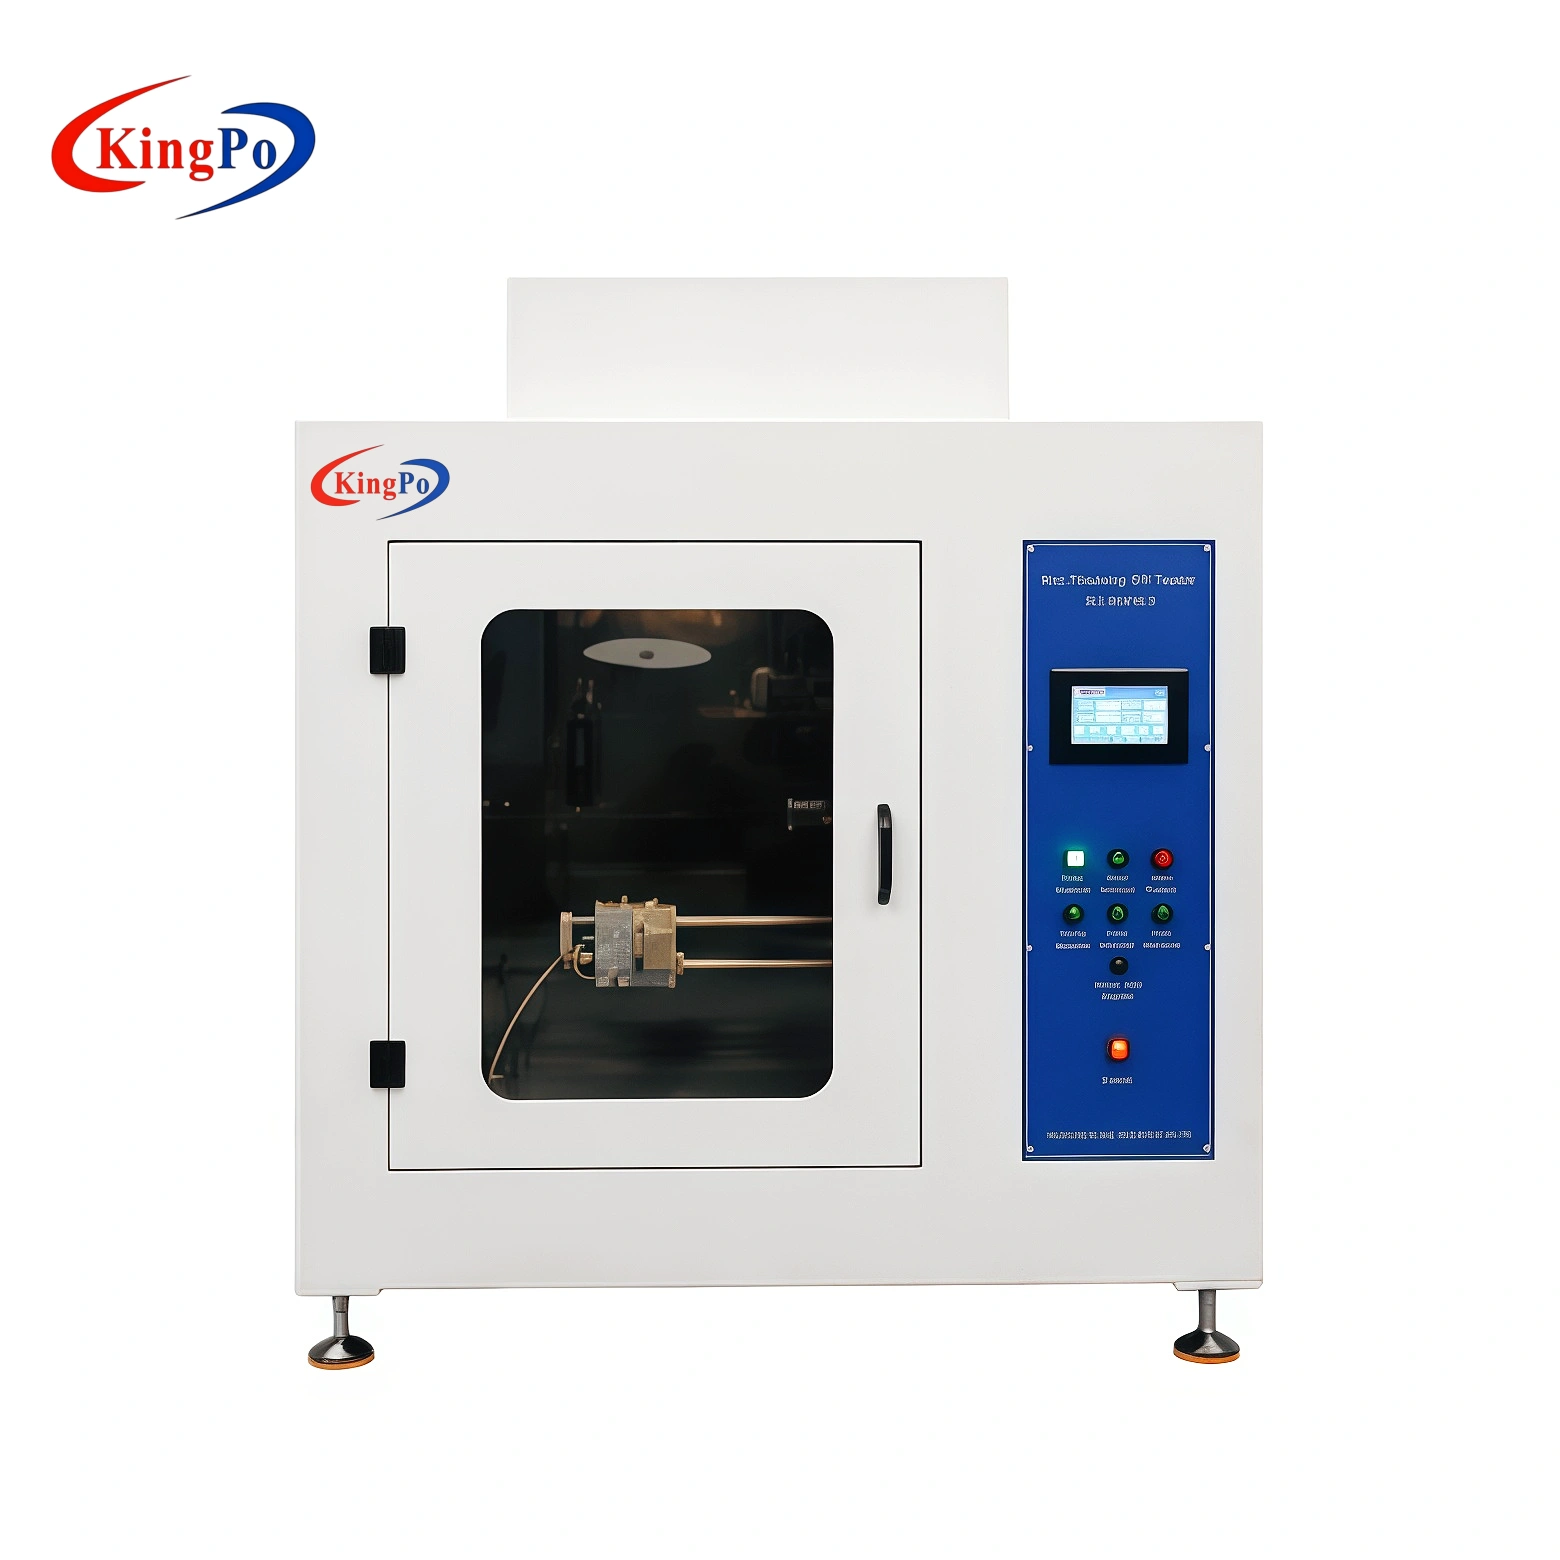
Step 4:Verify Flame Performance with a Copper Block

Visual flame height alone does not always prove that the flame energy is correct. Where required, flame performance should be verified using the specified copper block and thermocouple method. This helps confirm that the flame provides the expected heating effect before specimens are tested.
The copper block should be clean and positioned correctly. The thermocouple should have good contact and no visible damage. If the temperature rise time is outside the expected range, check the gas supply, burner cleanliness, burner alignment, and thermocouple condition before continuing. KINGPO provides related combustion testing copper block equipment for flame verification work.
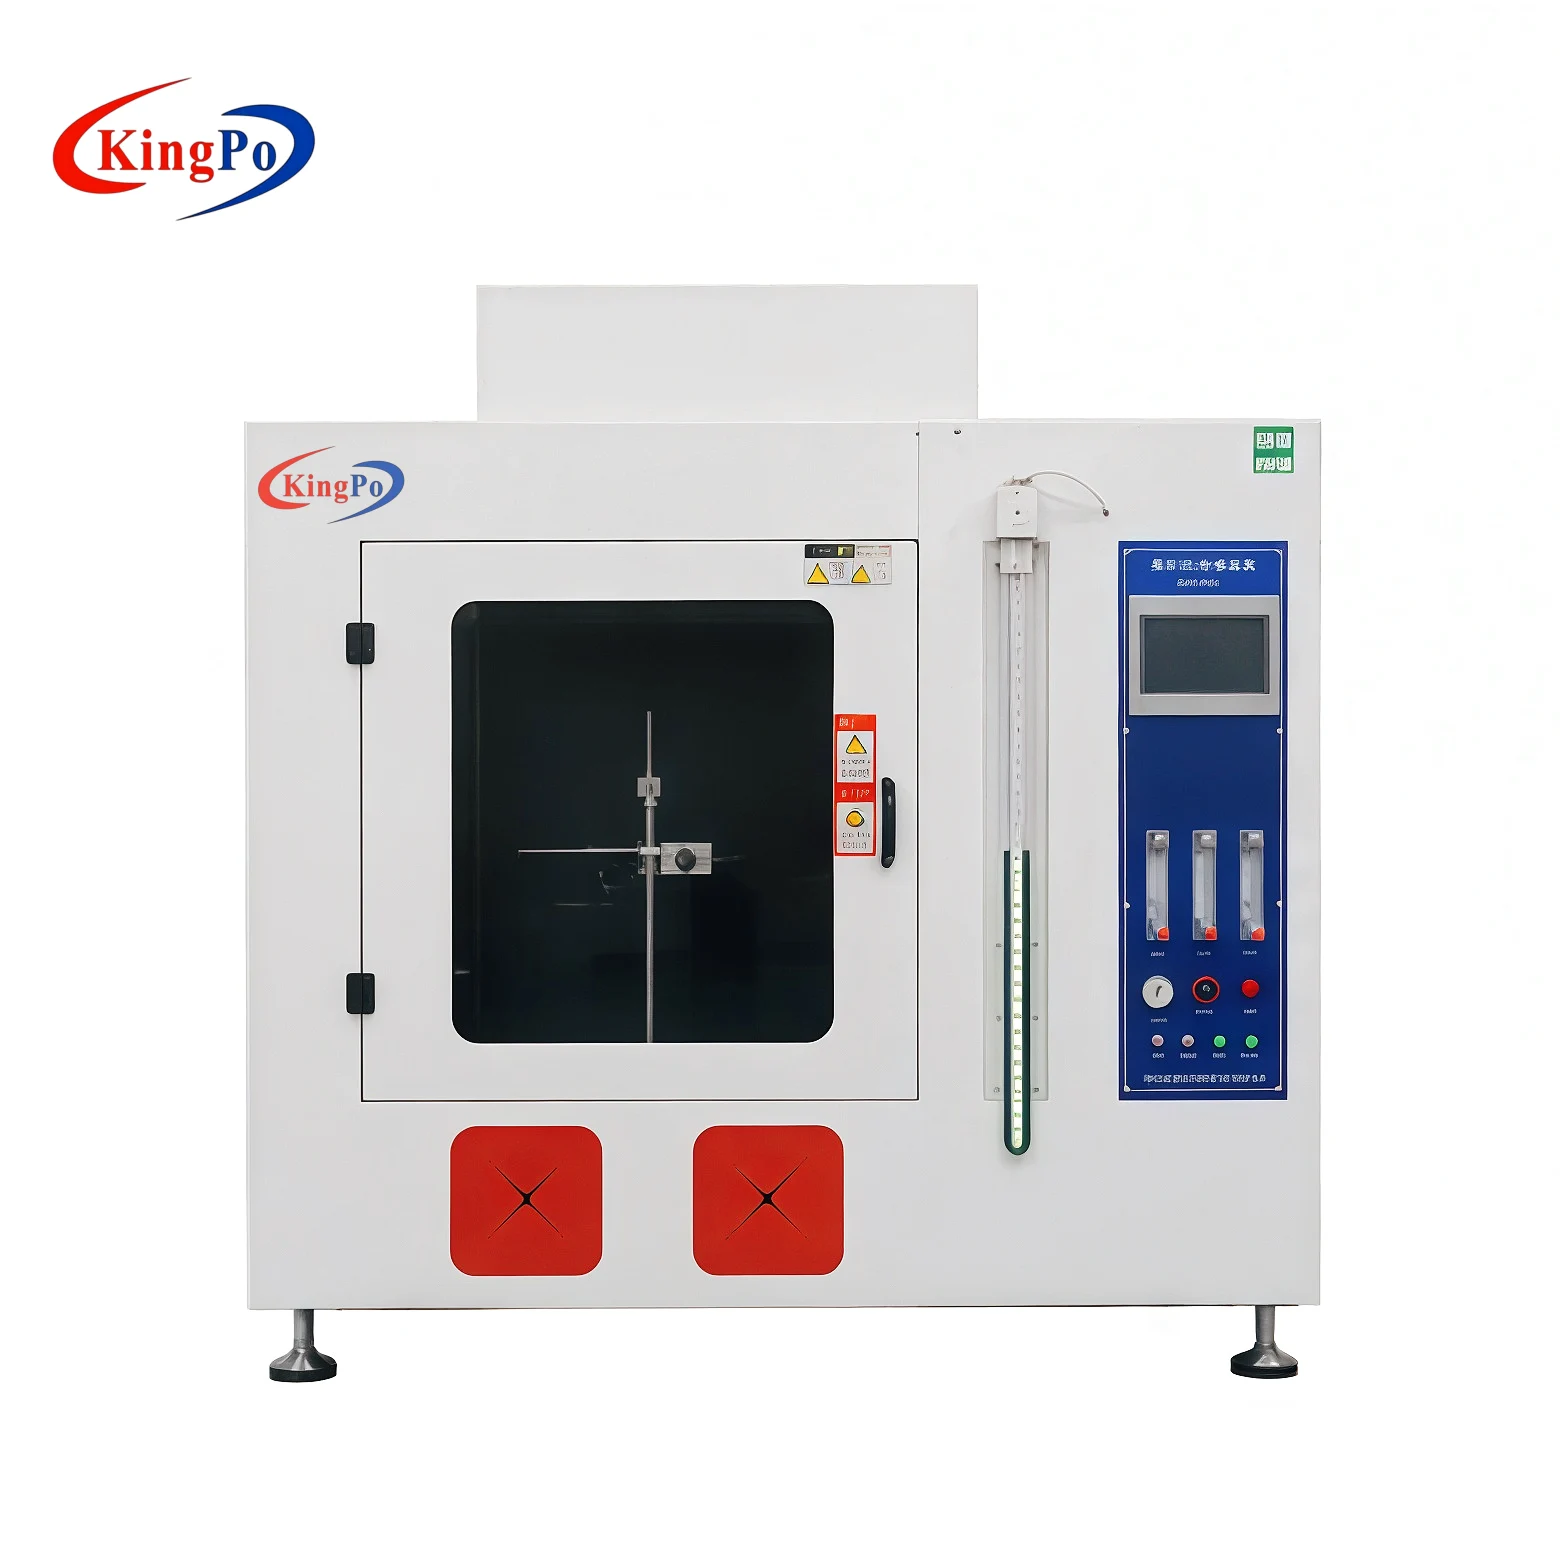
Step 5:Check the Flame Application Point and Angle

The flame must contact the specimen at the correct point and angle. If the burner is too close, too far away, or not aligned with the target area, the result may no longer represent the intended test condition. This is especially important for small components, thin insulating parts, terminals, and connector housings.
A dry run without ignition is useful before formal testing. Move the burner into the test position and confirm that the flame application point, specimen support, indicator material, and viewing area are all correct. The specimen should remain stable during flame contact and after the burner is withdrawn.
Step 6:Check Timing and Observation Procedure
Needle flame testing is sensitive to timing. The flame application time, after-flame time, and after-glow time should be recorded consistently. A few seconds of timing error can change the judgment for materials close to the acceptance limit.
Before testing, run through the timing sequence with the operator. Confirm when the timer starts, when the flame is removed, and how after-flame and after-glow are recorded. If different operators use different timing habits, the test record will be difficult to compare.
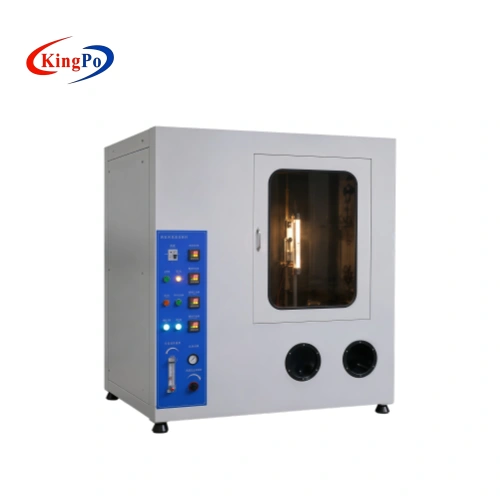
Step 7. Control the Test Environment
The chamber should be clean and free from loose debris, smoke residue, and remaining material from previous tests. Strong air movement should be avoided because the small flame can be disturbed easily. At the same time, the area should be safe for combustion testing and suitable for observing the specimen after flame removal.
If the laboratory performs several fire hazard tests, it is useful to keep separate setup checklists for needle flame, glow wire, horizontal and vertical burning, and high-energy flame tests. KINGPO’s Flame Test Equipment category includes related systems for IEC and material flammability testing.
Common Calibration Problems and Checks
| Problem | Likely Cause | What to Check |
|---|---|---|
| Flame height changes during setup | Gas flow variation or unstable adjustment | Check gas supply, valve setting, and burner cleanliness |
| Flame shape is irregular | Dirty or damaged burner tip | Clean and inspect the needle burner before retesting |
| Copper block verification fails | Incorrect positioning or thermocouple issue | Check copper block contact, thermocouple condition, and burner alignment |
| Specimens show inconsistent burning | Wrong application point or unstable specimen support | Recheck fixture position, burner angle, and specimen stability |
| Reports vary between operators | Different timing and observation habits | Use a fixed checklist and define recording points before testing |
Related Test Methods to Consider
Needle flame testing is often used together with other fire hazard tests, depending on the material, end product, and applicable standard. For overheated component simulation, laboratories may use a Glow Wire Tester. For material burning classification, a Horizontal Vertical Flame Test Chamber may be required. For higher-energy flame conditions, an IEC 60695-11-3 500W Flame Tester can be used according to the relevant test method.
Pre-Test Calibration Checklist
- Applicable standard and test conditions confirmed
- Needle burner inspected and cleaned
- Gas source checked for stability
- Flame height adjusted after stabilization
- Copper block verification completed when required
- Specimen support fixed in the correct position
- Flame application point and angle confirmed
- Timer and observation procedure checked
- Test chamber cleaned and ready
- Calibration record prepared before testing
Conclusion
Needle flame test apparatus calibration helps make IEC 60695-11-5 test results more repeatable and easier to review. The most important checks are burner condition, flame height, gas stability, copper block verification, specimen position, test angle, timing, and chamber condition. Recording these checks before each test series also gives the laboratory a clearer basis for reviewing unusual or borderline results.