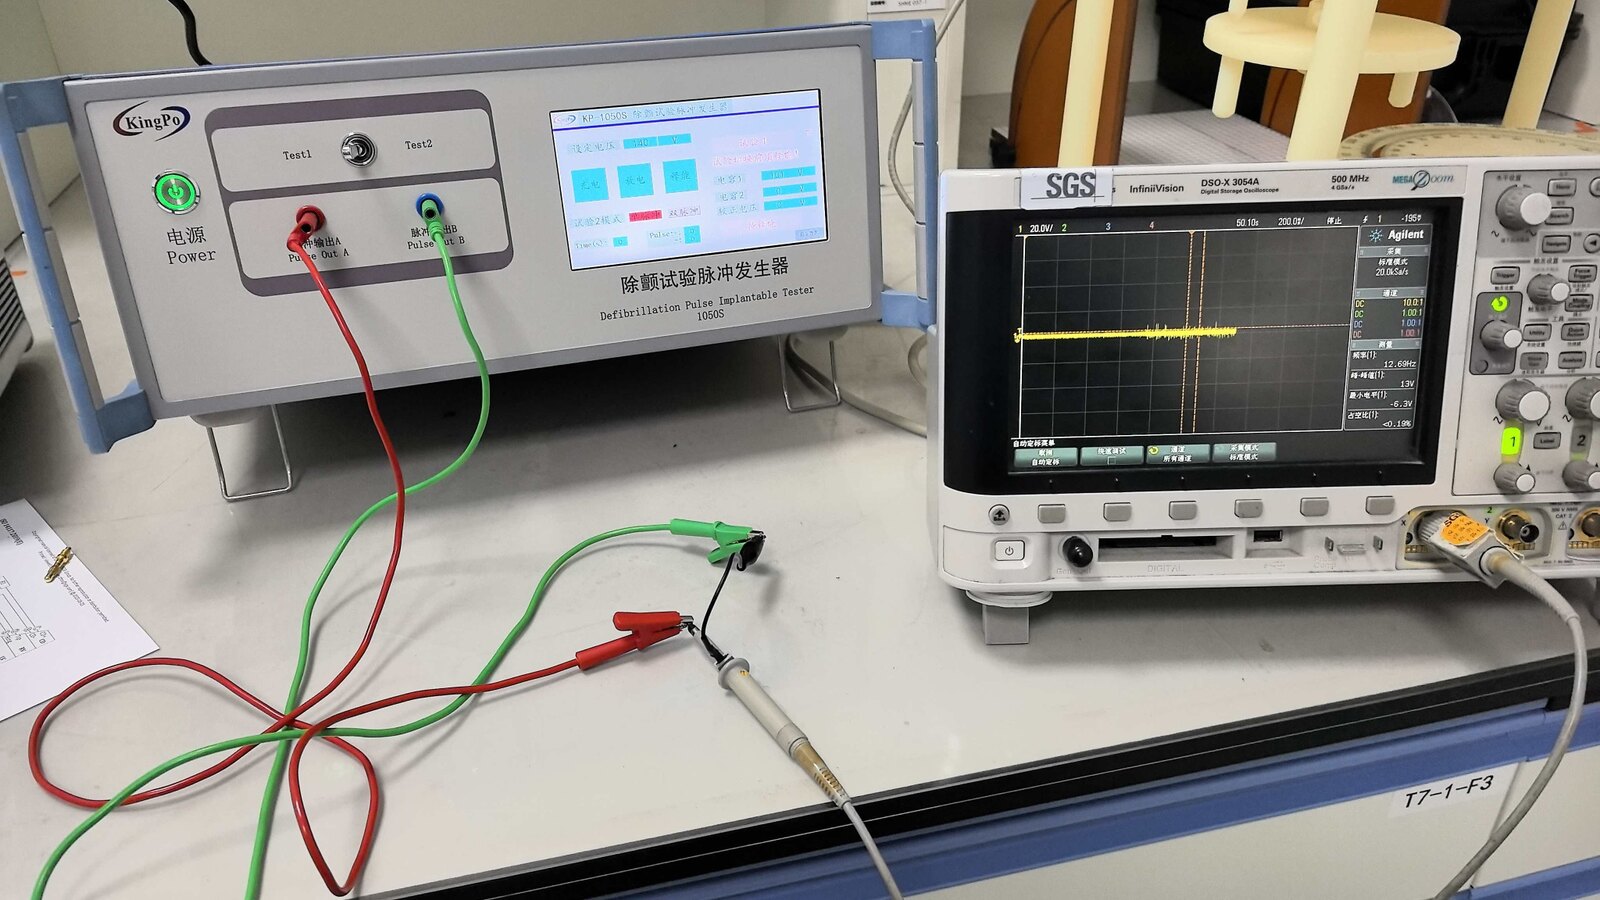
I start a leakage current test by connecting the device under test to a programmable tester, like the KingPo IEC 60601 model. Leakage current describes the unwanted flow of electricity that escapes from circuits and can threaten safety. I rely on modern testers and standards, such as IEC 60601-1, to measure leakage and confirm devices meet strict safety requirements. These tools help me ensure manufacturers, labs, and technicians protect users from leakage risks and stay compliant with updated testing methods.
Key Takeaways
-
Leakage current testing is crucial for safety. It prevents electric shocks and device malfunctions, protecting users and equipment.
-
Use advanced testers like the KingPo IEC 60601 for accurate measurements. These tools help ensure compliance with safety standards.
-
Always follow safety precautions before testing. Wear insulated gloves, check the area for hazards, and ensure the device is powered off.
-
Document all test results thoroughly. Good records help with compliance audits and track any corrective actions taken.
-
Regular testing is essential. Perform tests before initial use, after repairs, and during routine maintenance to catch issues early.
Leakage Current Test Basics
What Is Leakage Current
When I perform leakage current testing, I look for the unwanted flow of current that escapes from a device’s circuit. Leakage current travels through insulation or conductive surfaces, often finding its way to the ground or other unintended paths. These measurements help me understand how much current leaves the intended circuit. I use precise instruments to detect even tiny amounts of leakage. In medical devices, leakage current can reach patients or operators, so I always pay close attention to these measurements.
Why Testing Matters
Leakage current testing protects people and equipment from potential hazards. I know that excessive leakage can cause shock hazards, fires, or device malfunctions. Testing helps me confirm that devices stay within safe limits. International standards like IEC 60601-1 and ASTM F1886/F1886M guide my work. IEC 60601-1 sets strict limits for patient leakage current, while ASTM standards focus on packaging and container integrity. I rely on these standards to ensure my measurements are accurate and my devices are safe.
Tip: I always check for leakage current under normal and single-fault conditions to make sure devices meet safety requirements.
I see that leakage current testing is essential for medical and industrial devices. It prevents micro-shocks, burns, and interference with sensitive electronics. Regular testing keeps users safe and equipment reliable.
Common Risks and Sources
I often encounter several risks during leakage current testing. Excessive leakage current can lead to:
-
Electrical fires that threaten property and safety
-
Electric shocks that harm users
-
Device malfunctions from unintended current paths
-
Micro-shocks that disrupt heart rhythms in patients
-
Burns or skin injuries from conductive surfaces
I track the sources of leakage current in my measurements. Here is a table that shows common sources:
|
Source of Leakage Current |
Description |
|---|---|
|
Capacitive Coupling |
Unintentional transfer of electrical charges between conductive surfaces separated by a dielectric. |
|
Inductive Coupling |
Magnetic fields from components like transformers inducing unintended currents in nearby conductors. |
|
Parasitic Capacitances |
Unintended capacitances between components or PCB traces acting as pathways for current flow. |
|
Insulation Flaws |
Material imperfections or aging compromising insulation, creating leakage paths. |
I also see resistive leakage current from deteriorated insulation and capacitive leakage current in devices with large surface areas. By understanding these risks and sources, I make sure my leakage current testing covers all potential hazards.
Preparation and Tools

Safety Precautions
Before I start any leakage test, I always focus on safety. I check that the area is clear of water and clutter. I wear insulated gloves and use insulated tools. I make sure the device under test, or dut, is powered off before connecting any equipment. I follow strict guidelines from IEC and UL standards to protect myself and others. Here are some important steps I follow:
-
I simulate a broken ground wire by opening the protective earth connection.
-
I check that enclosure leakage current does not go over 0.7 mA AC for portable equipment or 3.5 mA AC for stationary equipment, as IEC 61010-1 requires.
-
I confirm that patient leakage current stays below 0.5 mA AC under fault conditions, as IEC 60601-1 states.
Note: I always double-check insulation resistance measurements before starting the main test. This step helps me spot weak insulation resistance that could cause unsafe leakage.
Essential Test Equipment
I rely on advanced testers for accurate insulation resistance measurements and leakage tests. The KingPo IEC 60601 Programmable Leakage Current Tester is my go-to device. It has a 5.6-inch TFT display, which makes it easy to see test settings and results. I can store test data in Excel format using a USB drive. This feature helps me keep records and share results with my team. The tester supports software upgrades and meets many safety standards, including IEC 60601-1 and IEC 61010-1. I use this tester for both insulation resistance and leakage tests on different types of dut.
|
Feature Description |
Details |
|---|---|
|
Display |
5.6 inch TFT for clear test parameters |
|
Data Storage |
Excel export via USB |
|
Compliance Standards |
Meets IEC 60601-1, IEC 61010-1, and more |
|
Leakage Current Testing |
Multiple modes for different dut |
Programmable features let me set test limits and automate insulation resistance measurements. This saves time and increases throughput, especially when I test many devices in a lab.
Setup and Environment
I always prepare my workspace before starting insulation resistance measurements or a leakage test. I keep the area dry and at a stable temperature. Both temperature and humidity affect insulation resistance and leakage readings. I check that the dut sits on an insulated surface and that all connections are secure.
|
Environmental Factor |
Impact on Leakage Current Measurement |
|---|---|
|
Temperature |
Changes insulation resistance |
|
Humidity |
Changes insulation resistance |
I make sure the test equipment is calibrated and the dut is ready. I review the insulation resistance measurements to confirm the device is safe to test. Careful setup helps me get accurate leakage results and keeps everyone safe.
Leakage Current Test Procedures

Direct Measurement Method
I start the leakage current test with the direct measurement method when I need high accuracy. I use this method for precise leakage current measurements, especially when I work with medical devices. I follow these steps:
-
I disconnect the device under test from the main power supply.
-
I connect the programmable tester, such as the KingPo IEC 60601 model, in series with the protective earth or the part I want to measure.
-
I set the tester to the correct mode for the type of leakage current I expect (AC, DC, or PEAK).
-
I power on the device and let it operate under normal conditions.
-
I read the leakage current value directly from the tester’s display.
-
I record the results and compare them to the limits set by IEC 60601-1 or other relevant standards.
This method gives me high precision because the tester measures the current flowing through the exact path where leakage might occur. I use this approach for all ranges of leakage current, from microamps to milliamps. I always check that the test setup matches the safety requirements for the device class.
Tip: I always use the direct measurement method for final compliance checks, especially for medical equipment, because it gives the most reliable results.
Using Testers and Clamp Meters
Sometimes, I use clamp meters for leakage current testing, especially when I need a quick check or when I cannot break the circuit. I compare the two methods in the table below:
|
Feature |
Direct Measurement |
Clamp Meter Method |
|---|---|---|
|
Precision |
High precision using a specialized meter |
Less precise for small currents, but effective for larger ones |
|
Measurement Technique |
Measures current in series with the grounding connection |
Measures magnetic fields around conductors |
|
Application |
Suitable for precise leakage current measurement |
Popular for general leakage current testing |
|
Current Range |
Effective for all ranges of leakage current |
Best for currents less than 5mA |
When I use a clamp meter, I follow these steps:
-
I select a clamp meter that can detect low-level leakage current.
-
I clamp the meter around all conductors except the ground wire.
-
I power on the device and observe the reading on the clamp meter.
-
I note the value and compare it to the safety limits for the device.
Clamp meters work well for general leakage current testing, but I know they are less precise for very small currents. I use them for quick checks or when I need to test many devices in a short time. For final compliance, I return to the direct measurement method.
Testing Medical and Double-Insulated Devices
When I test medical devices, I follow stricter procedures because patient safety is at stake. I always check the requirements in IEC 60601-1. Medical devices have lower permissible leakage current limits than general electrical equipment. The testing protocols for medical devices are more complex. I must consider the body’s impedance at different frequencies. I focus on patient-connected parts, not just operator safety.
-
Medical devices require lower leakage current limits to protect patients.
-
I use special test setups that simulate the human body’s resistance.
-
I check leakage current under both normal and single-fault conditions.
-
I follow pass/fail criteria that prevent patient electrocution.
When I test double-insulated devices, I make sure there is no protective earth connection. I measure leakage current between accessible parts and ground. I use the programmable tester’s double-insulation mode if available. I always document the test results for compliance.
Organizations like Intertek help me understand and apply these standards. They provide guidance and certification for IEC 60601-1 compliance. I consult their resources when I face complex testing situations.
Note: I never skip the special steps for medical devices. Patient safety depends on strict leakage current testing.
Results and Compliance
Allowable Leakage Current Table
I always check the limits for leakage current before I finish any test. These limits help me decide if a device meets safety standards. IEC 60601-1 sets strict rules for medical equipment. I use the following table to compare my test results:
|
Leakage Type |
Normal Condition |
Single Fault Condition |
|---|---|---|
|
Earth Leakage |
5 mA |
10 mA |
|
Touch Current (Enclosure) |
0.1 mA |
0.5 mA |
|
Patient Leakage — Type B |
0.1 mA |
0.5 mA |
|
Patient Leakage — Type BF |
0.1 mA |
0.5 mA |
|
Patient Leakage — Type CF |
0.01 mA |
0.05 mA |

I always compare my measured leakage current to these limits. If the test result stays below the limit, the device passes. If not, I need to troubleshoot.
Troubleshooting High Readings
When I see high leakage current during a test, I follow a step-by-step process to find the cause. I check for moisture on the device or in the test area. I look for dust or residue on surfaces. I inspect power cords for damage. I make sure the grounding is correct. I also check if the device is old or has been modified. Here is my troubleshooting checklist:
-
Inspect insulation for breakdown or wear.
-
Confirm proper grounding connections.
-
Clean surfaces to remove contamination.
-
Check creepage and clearance distances.
-
Replace damaged cords or components.
-
Review device modifications for compliance.
-
Test for electrochemical migration.
-
Schedule regular maintenance and training.
Tip: I always keep detailed notes during troubleshooting. This helps me track what I find and fix.
Reporting and Documentation
After every test, I document the leakage current results. I use the KingPo tester’s Excel export feature to save my data. I store test results in the tester’s memory or on a USB drive. I include technician signatures and note any corrective actions. I keep logs ready for compliance audits. My documentation checklist includes:
-
Test results for each device.
-
Technician signatures.
-
Corrective actions taken.
-
Exported data in Excel or CSV format.
Note: Good documentation protects me from penalties like warning letters or product bans. I always prepare my records for inspection.
I see regular leakage current testing as essential for safety and compliance. This process protects people, prevents fires, and extends equipment life. I use advanced testers that meet the latest standards to ensure every current measurement is accurate. I stay updated on new leakage current limits and training resources. When I face complex safety questions, I consult experts like Intertek.
|
Benefit |
Description |
|---|---|
|
Human Safety |
Detects leakage current and prevents electric shocks. |
|
Equipment Protection |
Reduces risks of insulation failure and current-related breakdowns. |
|
Compliance |
Meets global safety standards and avoids costly recalls. |
I always invest in ongoing education to keep my safety knowledge current.
FAQ
How often should I perform leakage current tests?
I test devices before initial use, after repairs, and during routine maintenance. I follow manufacturer guidelines and industry standards. Regular testing helps me catch issues early and keeps equipment safe.
What standards guide leakage current testing?
I rely on IEC 60601-1 for medical devices. I also use IEC 61010-1 for laboratory equipment. These standards set clear limits and procedures for safe testing.
Can I use a clamp meter for all leakage current tests?
I use clamp meters for quick checks. For precise measurements, I prefer programmable testers like the KingPo IEC 60601 model. Clamp meters may miss small leakage currents.
What should I do if my device fails the leakage current test?
I inspect insulation, check grounding, and clean surfaces. I replace damaged parts. I retest after repairs. If problems persist, I consult experts like Intertek.
How do I document leakage current test results?
I export results to Excel using my tester’s USB feature. I record technician names, test dates, and corrective actions. Good documentation helps me stay compliant and ready for audits.
IEC 60601-1 Programmable Leakage Current Tester | Medical Electrical Safety Test Equipment