A Needle Flame Tester helps you measure how materials respond to small flames. According to international standards, this tool checks if plastics, insulation, or other components can catch fire or put out flames by themselves. You use it when you need to make sure electronics and electrical devices meet strict fire safety rules. This test follows standards such as IEC 60695-11-5, which many safety organizations trust.
Key Takeaways
-
A Needle Flame Tester evaluates how materials react to small flames, ensuring safety in electronics and other products.
-
Following international standards like IEC 60695-2-2 guarantees consistent and reliable test results across different testing environments.
-
Industries such as electronics, automotive, and medical devices use Needle Flame Testers to prevent fire hazards and ensure compliance with safety regulations.
-
Proper preparation and calibration of the tester are crucial for accurate results, including maintaining specific temperature and humidity conditions.
-
Interpreting test results helps identify materials that may pose fire risks, allowing for safer product designs and improved safety measures.
Needle Flame Tester Overview

What Is a Needle Flame Tester
You use a Needle Flame Tester to check how materials react when exposed to a small flame. This tool helps you see if plastics or other parts will catch fire or stop burning on their own. The design uses a burner with a thin tip, usually 0.9 mm wide, and applies the flame at a 45-degree angle. This setup copies what might happen if a small spark or hot wire touches a part inside a device.
You can see how the Needle Flame Tester compares to other fire testing tools in the table below:
|
Feature |
Needle Flame Tester |
Glow Wire Tester |
|---|---|---|
|
Purpose |
Evaluates hazard of small flames |
Assesses resistance to heat and fire |
|
Design |
Uses a burner with a 0.9 mm tip at 45° |
Uses a heated wire to test material |
|
Standards |
Defined in IEC 60695-2-2 |
Defined in IEC 60335 and IEC 60695 |
|
Application |
Used for materials like plastics in devices |
Used for assessing electrical components |
|
Test Conditions |
Simulates fault conditions causing flames |
Tests material under heat exposure |
You follow strict rules when you use this tester. The most important standards are listed here:
|
Standard |
Description |
|---|---|
|
IEC 60695-2-2 |
Governs the needle flame test, outlining procedures for testing small flames’ effects on insulating materials and electrical equipment. |
|
GB/T 5169.5-2008 |
The Chinese national standard equivalent to IEC 60695-2-2. |
|
UL 94 |
A widely recognized standard for flammability testing of plastic materials, often used alongside the needle flame test. |
These standards make sure you get the same results every time, no matter where you test.
Main Uses in Industry
You find Needle Flame Testers in many industries. They help you check the safety of products before they reach customers. Here are some common industries and the products they test:
|
Industry |
Products Tested |
|---|---|
|
Power supplies, chargers, switches, printed circuit assemblies |
|
|
Automotive |
Plastic trim, insulation sleeves, connector housings |
|
Building Materials |
Low-voltage cables, insulation foams, sealants, conduit materials |
|
Aerospace and Military |
Components in aircraft cabins, avionics bays, military vehicles |
|
Electrical Components |
Switches, sockets, connectors, internal housings of appliances like coffee makers and air purifiers |
|
Lighting Fixtures |
LED drivers, plastic diffusers, internal wiring of luminaires |
|
Industrial Control |
Plastic enclosures for PLCs, servers, routers, base station modules |
|
Telecommunications |
Equipment enclosures ensuring fire containment |
|
Medical Devices |
Patient-connected monitors, avionics bay components |
Tip: If you work with plastics, wires, or connectors, you will likely need to use a Needle Flame Tester to meet safety rules.
You see more companies using this test every year. The market for Needle Flame Testing has grown by about 5-7% each year from 2018 to 2023. Asia-Pacific countries like China and India use these testers more because of new safety rules. North America and Europe also use them a lot because their safety standards are very strict.
You use this test to make sure your products do not catch fire easily. For example, in electric vehicles, you test battery systems to prevent fires. In medical devices, you check that equipment will not burn and harm patients. In data centers, you use the test to lower fire risks in crowded spaces.
If you work in electronics, automotive, or building materials, you need to know about the Needle Flame Tester. It helps you follow the rules and keep people safe.
Purpose & Safety
Why Needle Flame Testing Matters
You need to make sure your products do not start fires. Many electrical devices can fail inside. Small flames can appear from overheated parts, poor connections, or old insulation. These flames may seem minor, but they can ignite nearby materials and cause bigger fires. The needle flame test helps you find out if your materials will burn or stop the flame quickly.
You use this test to check real risks. For example, a faulty resistor or a broken capacitor can create a small flame. If you do not test for this, you might miss a hidden danger. The needle flame test gives you a controlled way to see how your product reacts. You can then choose safer materials or improve your design.
You help keep people safe by using this test. It is important for many products, such as:
-
Lighting equipment in homes and offices
-
Low-voltage electrical appliances
-
Household appliances like toasters and microwaves
-
Electric tools used in factories
-
Electronic instruments and meters
-
Insulating materials and engineering plastics
When you use a Needle Flame Tester, you make sure your products resist ignition and do not spread fire. This protects users and property.
Role in Fire Hazard Assessment
You play a key role in fire safety when you use this test. The Needle Flame Tester lets you see how materials behave when touched by a small flame. This test copies what happens in real life, like when a wire gets too hot or a part fails.
You need to know if your materials will catch fire or put out the flame. This helps you meet international safety standards. You can also find weak spots in your design and fix them before selling your product.
The needle flame test helps you pick better materials and improve safety. You lower the risk of fires in homes, workplaces, and public spaces. By using this test, you help prevent small problems from turning into big disasters.
Equipment & Components

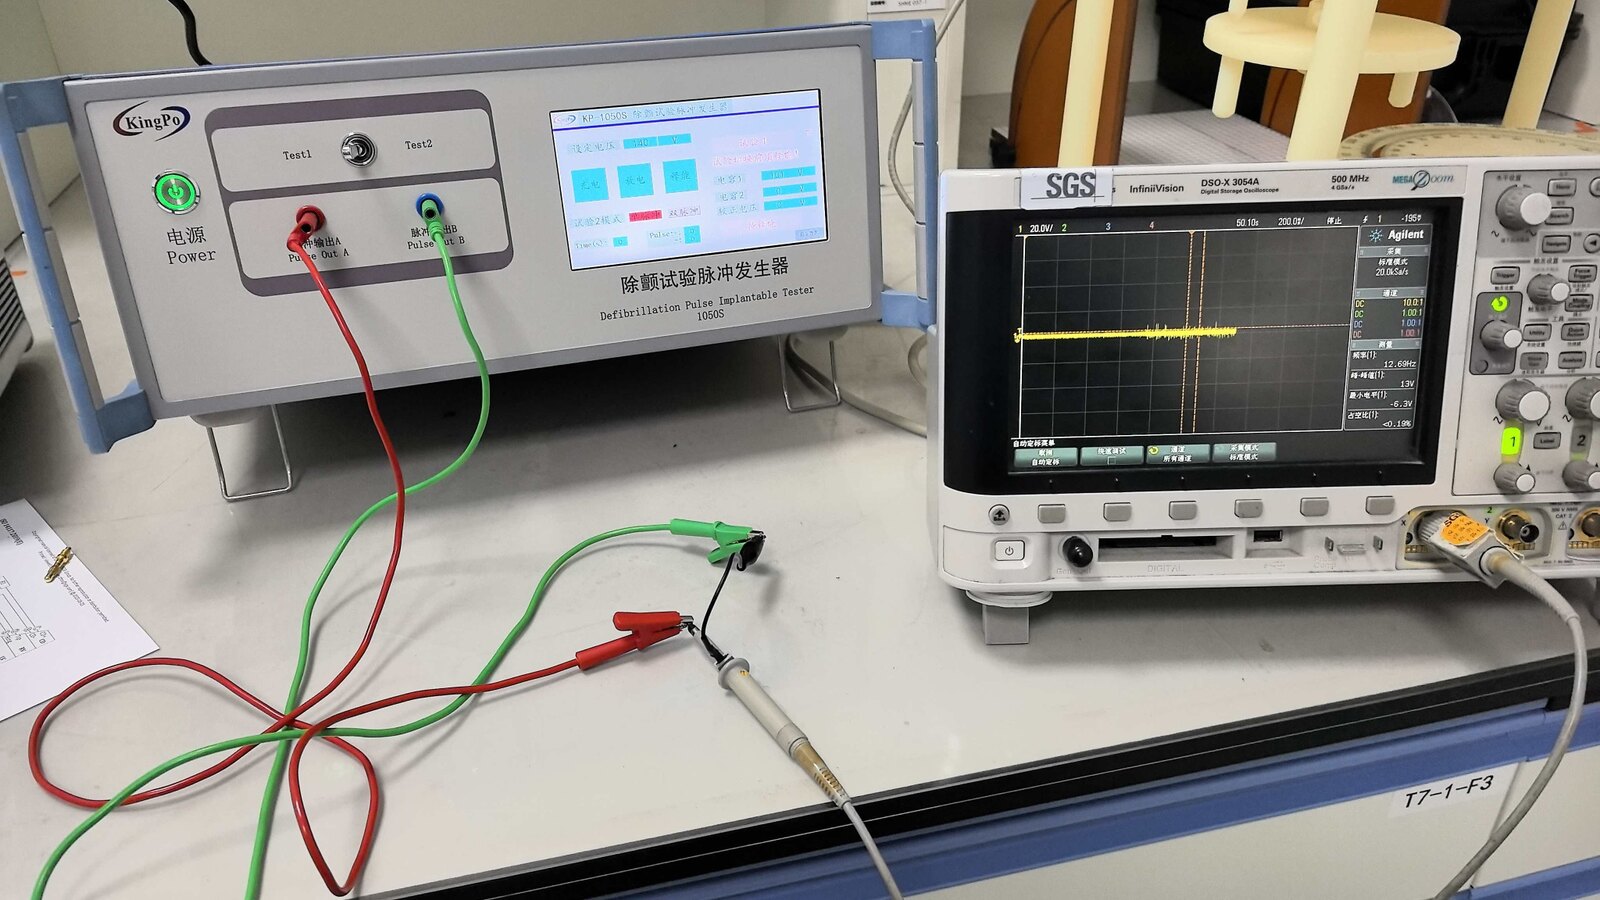
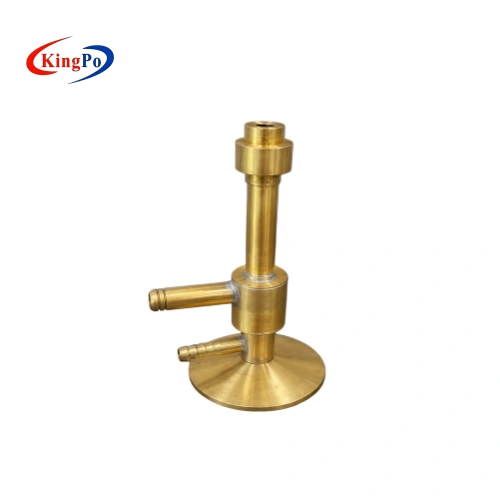
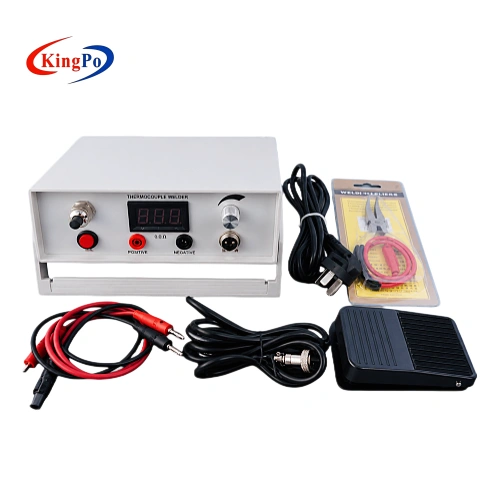
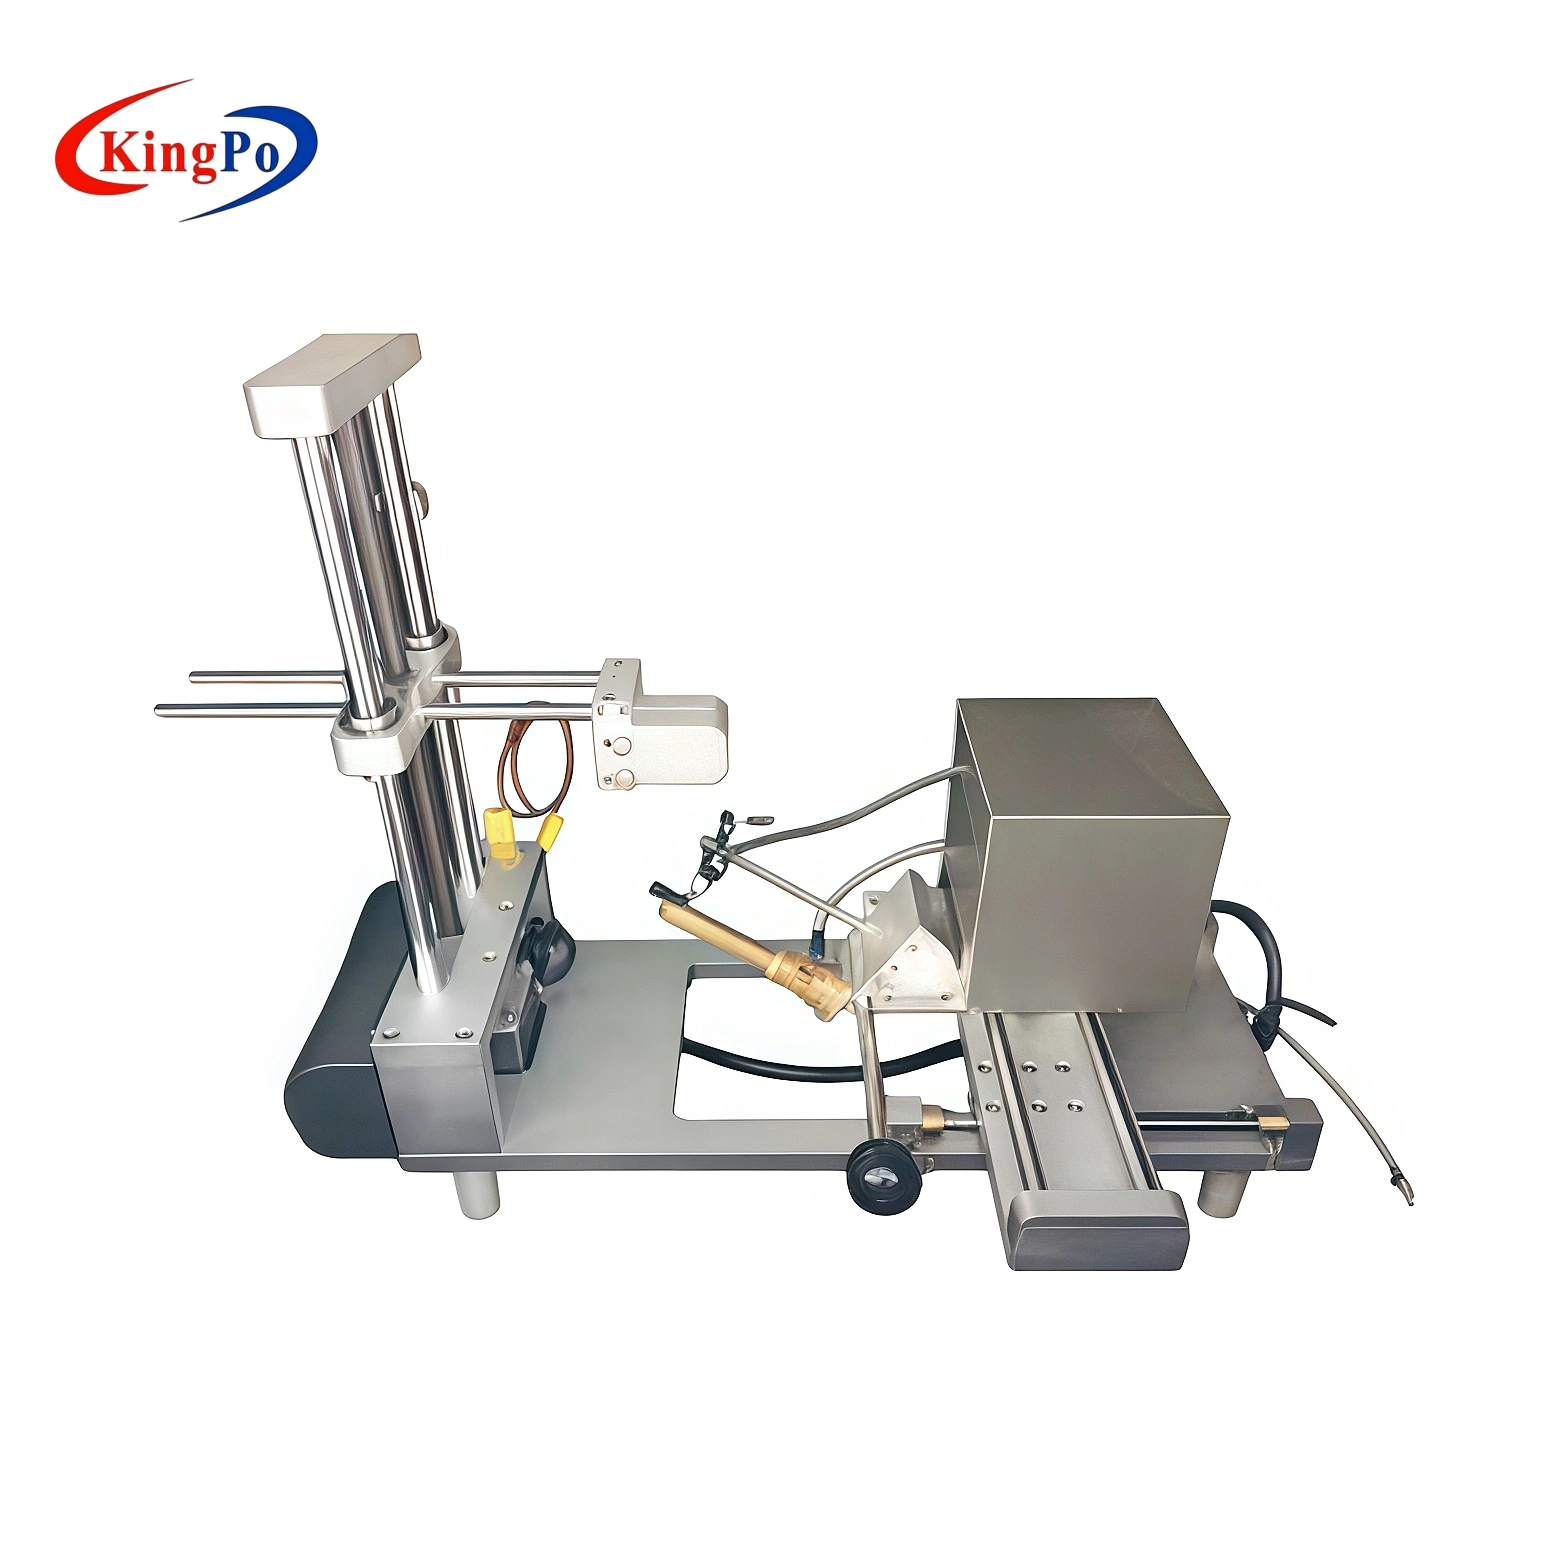
Needle Flame Tester Equipment
When you use a Needle Flame Tester, you work with several important parts. Each part has a special job to make sure your test is safe and accurate. Here is a table that shows the main components and what they do:
|
Component |
Function |
|---|---|
|
Needle Flame Burner |
Produces a controlled flame applied to the test sample. |
|
Workspace |
Provides a controlled environment for the testing process. |
|
Thermometer |
Monitors the temperature during the test. |
You will find that the needle flame burner creates a small, steady flame. The workspace keeps the test area safe and free from outside changes. The thermometer helps you check if the temperature stays correct during the test.
Modern testers often include extra features to help you. For example:
-
High-precision flame control lets you adjust the flame height.
-
Intelligent data recording saves your test results automatically.
-
Flexible programming allows you to set different flame times for different materials.
-
User-friendly controls, like touch screens and remote options, make the process safer and easier.
Key Features (Burner, Gas, Angle)
You need to pay attention to three main features when you use this equipment:
-
The burner tip has a diameter of 0.9 mm. This size is important because it creates a small, focused flame that matches real-life risks in electronics.
-
Butane gas is the fuel. It burns cleanly and gives you a steady flame every time.
-
The flame is applied at a 45-degree angle. This angle helps you copy the way a small flame might touch a part inside a device.
These features follow the IEC 60695-11-5 standard. This standard says you must use a 0.9 mm burner, butane gas, and a 45-degree angle. It also tells you to keep the flame at a height of 12 mm and to measure how long the material burns or if it stops burning on its own.
Note: By following these rules, you make sure your test results are fair and can be trusted anywhere in the world.
You will also see that some testers have advanced options. These include precise temperature control, automatic timing, and data logging. These features help you get accurate results and make your work easier.
How It Works
Preparation & Calibration
You need to prepare your samples and equipment before you start the test. This step helps you get accurate and reliable results. You must follow a standard process for conditioning and calibration. Here is a table that shows each step and what you should do:
|
Step |
Description |
|---|---|
|
Specimen Conditioning |
Keep your test samples in a room at 23°C ± 2°C and 50% ± 5% humidity for at least 24 hours. |
|
Mounting the Specimen |
Place the sample in the position it would be used or in the worst-case orientation. |
|
Flame Application |
Set the needle flame burner so it touches the sample. Apply the flame for 30 seconds. |
|
Observation |
Watch the sample after the flame goes out. Record how long it burns or glows. |
|
Calibration |
Check the flame height (12mm ± 1mm) and heat output using a gauge and thermocouple. |
You must make sure the flame height and temperature are correct. You use a calibrated gauge and thermocouple to check these settings. This step helps you follow international standards and get repeatable results.
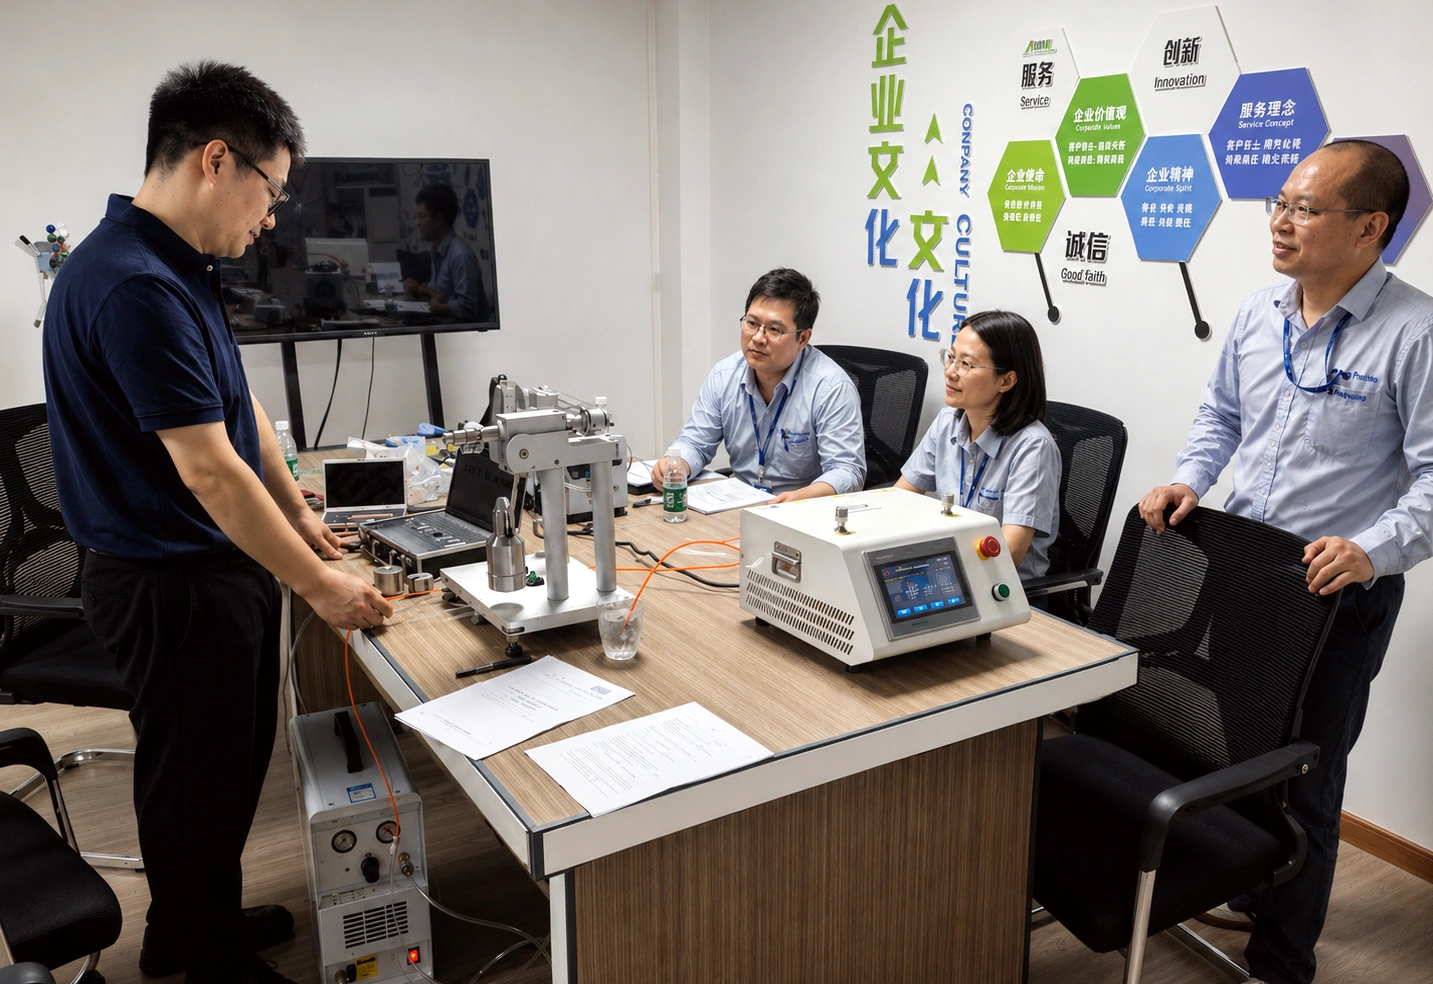
Testing Procedure
You follow a clear process when you use the Needle Flame Tester. Here are the steps you need to take:
-
Adjust the angle of the flame. Loosen the bolt, set the angle, and secure it. Place the thermocouple wire above the needle. Press ‘gas on’ and then ‘ignition’ to light the flame. Watch the temperature until it reaches 100°C, then 700°C for automatic shutoff.
-
Operate the flame. Reset the counter, press ‘start’, and light the flame. Set the timer and turn off the flame after the required time. Use ‘pause’ and ‘stop’ if needed.
-
Mount the sample. Adjust the height of the sample so it meets the standard requirements.
You must apply the flame for a specific time. Most standards say you should use a flame for 10 to 30 seconds. This time simulates a short but intense heat source. You need to record everything carefully during the test.
Tip: Always check the flame height and timing before you start. This helps you avoid mistakes and keeps your results accurate.
The average test cycle takes about 30 seconds for flame application. You spend extra time setting up and recording results. You must pay attention to every detail to make sure your test is valid.
Reading Results
You need to interpret the results after the test. You look for several key outcomes to decide if your material passes or fails. Here is a table that shows what you might see:
|
Outcome Type |
Description |
|---|---|
|
Duration of flaming/glowing |
How long the material burns or glows after the flame. |
|
Ignition of tissue paper |
If the burning sample can ignite nearby materials. |
|
Extent of specimen damage |
How much damage the sample shows after the test. |
|
Dripping of burning material |
If burning material drips and causes more ignition. |
|
Excessive after-flame time |
If the flame lasts longer than allowed, the sample fails. |
|
Ignition of adjacent materials |
If the sample ignites other items, it fails the test. |
You check three main criteria to decide if your sample passes:
-
After-flame time must be 30 seconds or less.
-
Damage length must be 60 mm or less from where you applied the flame.
-
The cotton indicator must not ignite from flaming drips.
You record all these details during and after the test. You use your notes to decide if the material is safe. If your sample fails any of these criteria, you need to improve your design or choose a safer material.
Note: Careful observation and accurate recording help you make the right safety decisions.
You use the Needle Flame Tester to make sure your products meet fire safety standards. You protect users and property by following these steps.
You use a Needle Flame Tester to check if materials in electronics and plastics can resist fire. This tool helps you meet safety rules and protect users from fire hazards. The table below shows how this test supports safety and compliance in your industry:
|
Benefit |
Impact on Manufacturing |
|---|---|
|
Valid fire risk evaluation |
Safer product development |
|
Supports regulatory compliance |
Higher compliance rates |
|
Reduces fire hazards |
Fewer safety incidents |
You help create safer products and meet global standards by using this test.
FAQ
What materials can you test with a Needle Flame Tester?
You can test plastics, insulation, wires, connectors, and small parts in electronics. This tool works best for materials used in electrical and electronic devices.
How long does a typical needle flame test take?
You usually apply the flame for 10 to 30 seconds. You then observe the sample for burning or glowing. The whole process, including setup, takes a few minutes.
Do you need special training to use a Needle Flame Tester?
You should get basic training before using this equipment. Training helps you follow safety rules and test standards. Many companies offer short courses or guides.
What happens if your material fails the test?
|
Result |
What You Should Do |
|---|---|
|
Fails |
Choose safer materials |
|
Passes |
Use material in production |
If your material fails, you must improve your design or pick a different material.